Water Heater Maintenance and Replacement Guide
Quick answer
Water-heater maintenance focuses on catching leaks, testing safety components, managing sediment, and checking venting or electrical connections. Replacement becomes more likely when the tank leaks, recovery drops, corrosion appears, or repair cost approaches a new unit.
Common questions
- What water-heater maintenance should homeowners check?
- Look for leaks, rust, unusual noises, draft or venting problems on gas units, and water around the pan or relief valve. Flush or service the unit only in a way that matches its age and manufacturer guidance.
- When is water-heater replacement safer than repair?
- A leaking tank, severe corrosion, repeated failures, or an old unit with poor recovery often points to replacement. Gas, venting, and electrical work should be handled by qualified pros.
Source note: Reviewed July 2026 against the article guidance and common plumbing trade practice; local code, fixture instructions, and site conditions control final repair decisions.
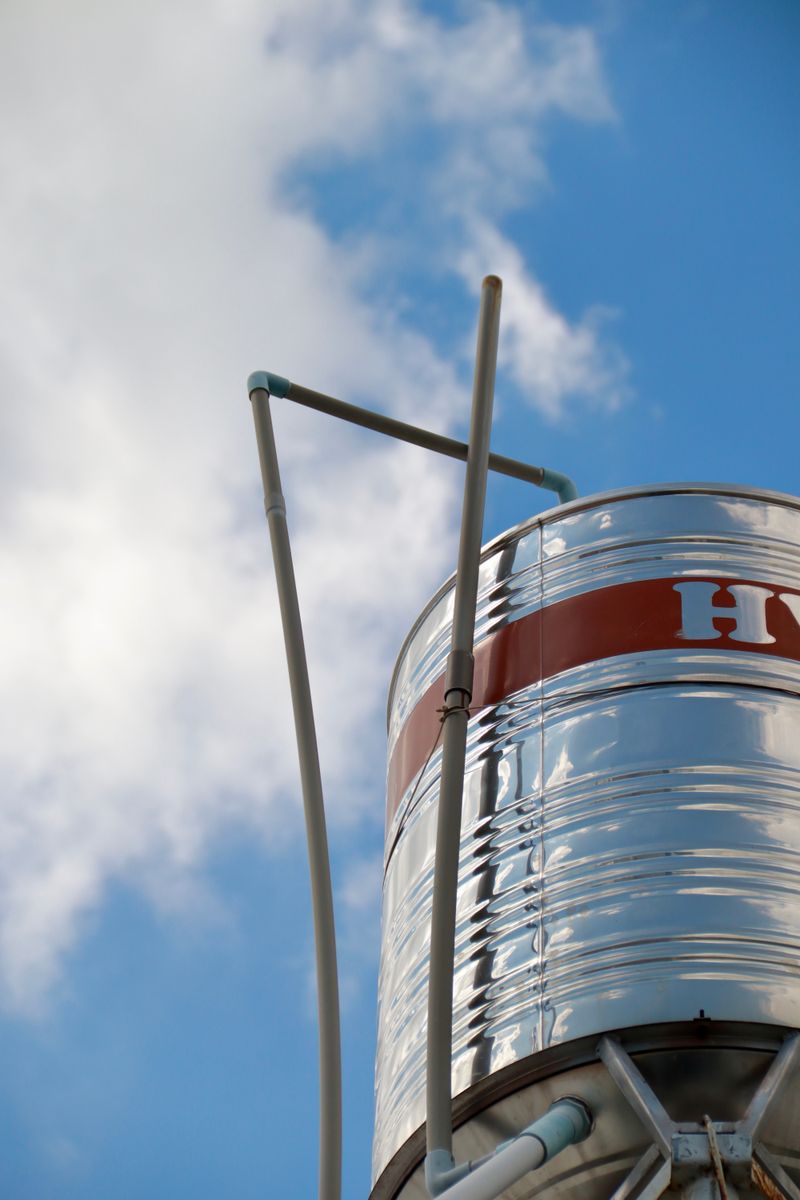
Your water heater is one of the hardest-working appliances in your home. Most units last 8–12 years, but proper maintenance can extend that lifespan significantly while keeping energy costs down. Knowing when to repair versus replace is equally important.
This guide covers everything you need to know about water heater maintenance and what to look for when it’s time to buy a new unit.
Types of Water Heaters
Before diving into maintenance, it helps to know which type you have:
- Tank water heater (most common): Stores 30–80 gallons of heated water, available in gas or electric
- Tankless water heater: Heats water on demand, more energy-efficient, higher upfront cost
- Heat pump water heater: Moves heat from air into water, 2–3× more efficient than electric resistance
- Solar water heater: Uses solar collectors, often backed up by a conventional unit
Annual Maintenance Tasks
1. Test the Pressure Relief Valve
The T&P (temperature and pressure) relief valve is a critical safety device. If the tank builds too much pressure, this valve opens to release it.
How to test it:
- Place a bucket under the discharge pipe
- Lift the lever briefly — you should hear or see water discharge
- Release the lever — it should snap shut and stop flowing
If the valve continues to drip, does not flow freely, or will not reseat, stop there. Use the water-heater pressure relief valve leak diagnostic to distinguish thermal expansion, supply pressure, overheating, and a worn valve before replacement. Sustained hot discharge needs prompt professional diagnosis.
2. Flush the Tank
Sediment from minerals in your water accumulates on the tank floor, reducing efficiency and accelerating corrosion.
Steps:
- Turn off the power (electric) or set gas to “Pilot”
- Connect a garden hose to the drain valve at the bottom of the tank
- Turn off the cold water supply
- Open the drain valve and let the tank drain fully
- Briefly turn the cold supply back on to stir up remaining sediment and flush it out
- Close the drain valve, remove the hose, and refill the tank
- Restore power or gas after the tank is full
Flush once a year in areas with hard water; every 18 months in soft-water areas.
3. Inspect and Replace the Anode Rod
The sacrificial anode rod attracts corrosive elements so they attack the rod instead of the tank. Most rods last 3–5 years.
- Locate the anode rod (usually on top of the tank under a plastic cap)
- Use a 1-1/16” socket to unscrew it
- Inspect it: if it’s less than ½” thick or heavily corroded, replace it
Replacement anode rods cost $20–$50 and can double your tank’s lifespan. Look for a magnesium anode rod for most water types, or an aluminum rod if you have a water softener.
4. Check the Insulation
Older tanks benefit from a water heater insulation blanket, which reduces standby heat loss by up to 45%.
For the pipes: wrap the first 6 feet of hot and cold water pipes leaving the heater with foam pipe insulation to reduce heat loss.
5. Check the Temperature Setting
The U.S. Department of Energy recommends setting your water heater to 120°F (49°C). Higher temperatures increase scalding risk and energy consumption. Lower temperatures risk bacterial growth.
Use a cooking thermometer at a hot-water tap to verify the actual output temperature.
Signs Your Water Heater Needs Replacing
Even well-maintained units eventually fail. Watch for these warning signs:
- Age: If your unit is over 10 years old, plan for replacement
- Rust-colored hot water: Indicates internal corrosion
- Rumbling or popping noises: Sediment is common, but timing and heater type matter; use the water-heater popping-noise diagnostic before choosing a maintenance step
- Water pooling around the base: Often means the tank has cracked or corroded through
- Frequent need for repairs: If you’ve repaired it twice in two years, replacement is usually more cost-effective
- Inconsistent hot water: Could mean a failing heating element or thermostat
Choosing a Replacement Water Heater
Tank Size
Sizing depends on the number of people in your household:
| Household Size | Recommended Tank Capacity |
|---|---|
| 1–2 people | 30–40 gallons |
| 3–4 people | 40–50 gallons |
| 5+ people | 50–80 gallons |
Gas vs. Electric
Gas heaters cost less to operate (lower energy costs) but have higher upfront installation costs. Electric units are cheaper to buy and install but more expensive to run in most regions.
Tankless Consideration
Tankless heaters cost more upfront ($800–$1,500 installed) but last 20+ years and reduce energy use by 24–34% for average households. The Rinnai RU199iN is a top-rated condensing tankless unit for whole-home use.
Energy Factor (UEF Rating)
The higher the UEF rating, the more efficient the unit. Heat pump water heaters (UEF 3.0–4.0) are the most efficient electric option. Standard electric resistance heaters run around UEF 0.9–0.95.
DIY vs. Professional Installation
Basic maintenance tasks — flushing, anode rod replacement, T&P valve testing — are DIY-friendly. However, full water heater replacement involves gas line work, electrical connections, and proper venting. Most local codes require a permit and licensed plumber for replacement. Improper installation can result in gas leaks, carbon monoxide exposure, or electrical hazards.
Temperature and Safety Checks
The Department of Energy commonly recommends a 120°F water heater setting for most households because it reduces standby energy use and lowers scald risk. Higher settings may be needed in some homes, but they should be paired with anti-scald mixing valves and a clear reason for the change.
Add these checks to your annual maintenance routine:
- Confirm the temperature setting after power outages or service work
- Make sure the discharge pipe from the T&P valve terminates safely near the floor
- Look for rust, bulging, or water in the drain pan
- Keep combustible storage away from gas water heaters
- Flush enough water to clear visible sediment before closing the drain valve
Never cap or plug a dripping T&P valve. A leaking safety valve needs diagnosis, not a workaround.
Replacement Quote Checklist
When replacement is likely, compare more than tank price. A complete quote should specify permit handling, disposal of the old unit, drain pan and pan drain, venting changes, gas or electrical upgrades, and code-required shutoffs. If the system is closed by a check device or pressure-reducing valve, use the water-heater expansion tank guide to ask how tank sizing, support, connection location, and precharge will be verified.
Conclusion
Annual maintenance — especially flushing and inspecting the anode rod — can add years to your water heater’s life. When replacement becomes necessary, focus on the right size, fuel type, and energy efficiency rating for your household’s needs. A new high-efficiency unit can pay for itself in energy savings within 5–7 years.
See Also
- How to Increase Water Pressure in Your Home — sediment buildup in the water heater is a common cause of low hot-water-only pressure throughout the house
- Water Softener Installation Guide — hard water dramatically accelerates sediment accumulation; a softener extends your water heater’s life significantly
- Pipe Burst Prevention and Winter Plumbing Preparation — includes guidance on draining the water heater as part of seasonal winterization
Check the pressure-control details around the water heater
Use these resources to document expansion control, replacement scope, system format, and emergency shutoffs.
- Pressure relief valve leak diagnostic
Match discharge timing to expansion, supply pressure, overheating, or a worn valve.
- Expansion tank symptoms and sizing
Check closed-system pressure, precharge, support, and sizing inputs.
- Water heater replacement worksheet
Compare quotes that include permits, expansion control, drain protection, and connections.
- Tankless vs. tank water heaters
Compare formats before replacing a storage water heater.
- Emergency water shutoff guide
Confirm water and energy controls before service or leak response.

Flow Control HQ Editorial Team
Independent trade-focused editorial team