Toilet flange repair vs. replacement: a practical guide
Quick answer
Replace the wax or non-wax seal when the flange is secure, correctly positioned, and undamaged. Use a listed repair ring or extender only when it fits the flange material, connection, height, and sound subfloor; replace the flange or escalate the floor repair when the body, pipe connection, anchorage, or surrounding structure has failed.
Common questions
- Does water at the toilet base always mean a bad flange?
- No. The bowl-to-flange seal, tank hardware, supply connection, condensation, or nearby splashing can also wet the floor. Remove the toilet and inspect only after ruling out visible above-floor sources.
- When is a toilet flange repair ring appropriate?
- A listed repair ring may restore bolt support when the compatible existing flange and drain connection remain sound and the subfloor can anchor the repair. Follow the product instructions rather than covering unknown damage.
- How high should a toilet flange sit?
- Many manufacturer instructions place the flange base on top of or level with the finished floor. Verify the selected flange, toilet, and seal instructions because the correct assembled height depends on the system.
Source note: Reviewed August 6, 2026 against Oatey toilet-flange installation and repair instructions. Product listings, drain material, finished-floor height, manufacturer directions, and local plumbing requirements control the final repair.
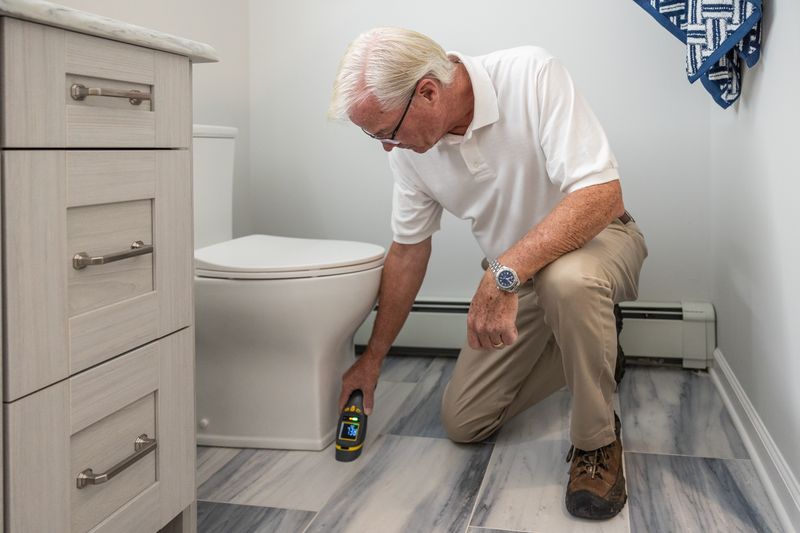
A toilet that rocks or leaks at the floor does not automatically need a new flange. The correct repair depends on whether the failure is the bowl seal, the flange’s height, the bolt ring, the drain connection, or the subfloor that anchors everything. Removing the toilet exposes the evidence; it does not make every repair interchangeable.
If wastewater is present, keep people and pets out of the area, wear appropriate protection, and clean and disinfect using public-health or product guidance. Do not keep flushing to “see if it leaks.”
Rule out above-floor water first
Dry the toilet and floor, then look for:
- A dripping tank-to-bowl gasket or tank bolt
- A leaking fill-valve shank or supply connector
- Condensation on the tank or bowl
- Water from bathing, cleaning, or a nearby fixture
- A cracked tank or bowl
- Water that appears only during or after flushing
Colored, odorous, or flush-timed water at the base supports a seal or drain-side problem. Clear water running down from the supply or tank needs a different repair. The advanced running-toilet guide can help separate continuous water use from a floor-seal leak.
What to inspect after toilet removal
Use the toilet installation guide for safe shutoff and bowl-removal sequence. Once the opening is protected from dropped tools and sewer gas without pushing material into the drain, clean away the old seal and document:
Flange height
Oatey’s guidance says the flange should sit on top of or level with the finished floor. New tile or underlayment can leave a previously correct flange too low. A flange that is high, tilted, or sitting on debris can keep the bowl from bearing evenly.
Measure from the finished floor to the flange’s sealing surface at several points. Photograph the ruler and note any unevenness.
Material and connection
Identify whether the drain and flange are PVC, ABS, cast iron, copper, or another approved system. Note whether the flange is solvent-welded, clamped, leaded, threaded, inside-fit, outside-fit, or part of another listed assembly. A repair must be compatible with the actual pipe and connection.
Ring and body damage
Look for broken bolt slots, a cracked plastic hub, rusted metal, deformation, a split connection, or prior stacked repair parts. Test whether the flange moves independently of the floor; do not use the drain pipe as a lever.
Anchorage and subfloor
The flange must transfer toilet loads to sound structure. Missing fasteners, stripped holes, soft wood, delaminated underlayment, cracked concrete, or staining around the opening changes the job from a seal replacement to structural repair.
Drain condition
Check for an obstructed opening, damaged pipe edge, poor alignment, or signs that the pipe has moved. Do not chip, cut, heat, or solvent-weld unknown material.
Choose the smallest repair that fixes the actual failure
| Finding | Repair path to evaluate | Boundary |
|---|---|---|
| Secure, undamaged flange at correct height | New compatible wax or non-wax seal | Never reuse a compressed seal |
| Sound flange sits too low after flooring work | Listed spacer or extender system | Follow stacking, sealing, and fastener instructions; do not improvise loose rings |
| Damaged bolt ring but sound flange body, connection, and subfloor | Compatible listed repair ring | The ring must anchor to sound structure and restore bolt support |
| Badly corroded, cracked, loose, or incompatible flange | Full flange replacement | Match pipe material and connection; permits or licensed work may apply |
| Rotten, soft, cracked, or missing structure | Subfloor/concrete repair plus flange work | Restore structural support before setting the toilet |
| Drain moved, pipe cracked, or grade/alignment is wrong | Plumbing and possibly structural escalation | A thicker seal does not repair the drain |
Oatey’s repair guide separates the choice into repair, raise, or replace. That is a useful framework, but the selected product instructions control the details.
Wax seal failure versus flange failure
A seal may fail because the toilet rocked, the flange was too low, the bowl was set off-center, the seal was reused, or the flange could not hold the bolts. Simply adding a thicker wax ring can hide the cause for a while.
Before resetting the bowl, confirm:
- The flange is secure and properly supported.
- Closet bolts are held at the correct spacing and cannot pull through damaged slots.
- The finished-floor-to-flange relationship matches the seal system.
- The toilet base bears evenly on the floor without relying on wax for support.
- The bowl outlet and seal are compatible.
- The toilet can be lowered once without sliding or rocking that distorts the seal.
Use rigid, noncorroding toilet shims where needed to stop movement. Tighten bowl fasteners evenly and only enough to secure the fixture; porcelain can crack from overtightening.
When an extender is not enough
An extender addresses height, not structural failure. Do not rely on one when:
- The original flange moves or is detached from the structure.
- The hub or pipe connection is cracked.
- Corrosion has removed the sealing or fastening surface.
- The subfloor cannot hold approved fasteners.
- Multiple old rings create an unstable stack.
- The flange is badly tilted or off-center.
- Water damage extends into framing or a concrete opening.
A bathroom remodel is the best time to correct flange height before finished flooring traps the wrong assembly. Coordinate the sequence with the bathroom renovation plumbing guide.
Quote checklist for flange and floor work
Ask the plumber or remodeler to state:
- Existing pipe and flange material
- Measured flange height and observed damage
- Proposed repair product and connection method
- How the flange or repair ring will anchor to sound structure
- Who removes and resets the toilet
- Whether a new supply connector, bolts, seal, shims, and caulk are included
- Who repairs subfloor, tile, concrete, or finished surfaces
- Permit and inspection responsibilities
- How the repair will be leak-tested and rocking checked
- What hidden conditions can change the scope
Know the fixture and main shutoffs before work using the emergency water shutoff guide. A stop valve that will not close is a separate repair, not a reason to force the toilet work forward.
Test before calling the repair complete
After the bowl is set and the supply is reconnected, inspect every above-floor connection while the tank fills. Flush repeatedly while watching the base, the ceiling below when accessible, and the shutoff connection. Confirm the bowl does not rock before final caulking. Follow local practice and manufacturer guidance on whether and where a base-caulk gap is used for leak visibility.
The decision is simple once the evidence is separated: a sound flange needs a sound seal; a low flange needs a designed height correction; a damaged fastening system needs a compatible repair; and failed pipe or structure needs replacement-level work.
Sources and standards checked
Connect flange condition to a stable toilet installation
Use these resources to plan removal, water control, tank troubleshooting, and finished-floor sequencing around the flange repair.
- Toilet installation guide
Review safe removal, resetting, supply connection, shimming, and testing.
- Running toilet troubleshooting
Separate tank water loss from a bowl-to-floor seal problem.
- Bathroom renovation plumbing guide
Set flange height and structural support around the final floor assembly.
- Emergency water shutoff guide
Confirm the fixture stop and main shutoff before toilet removal.

Flow Control HQ Editorial Team
Independent trade-focused editorial team