Garbage Disposal Installation and Troubleshooting Guide
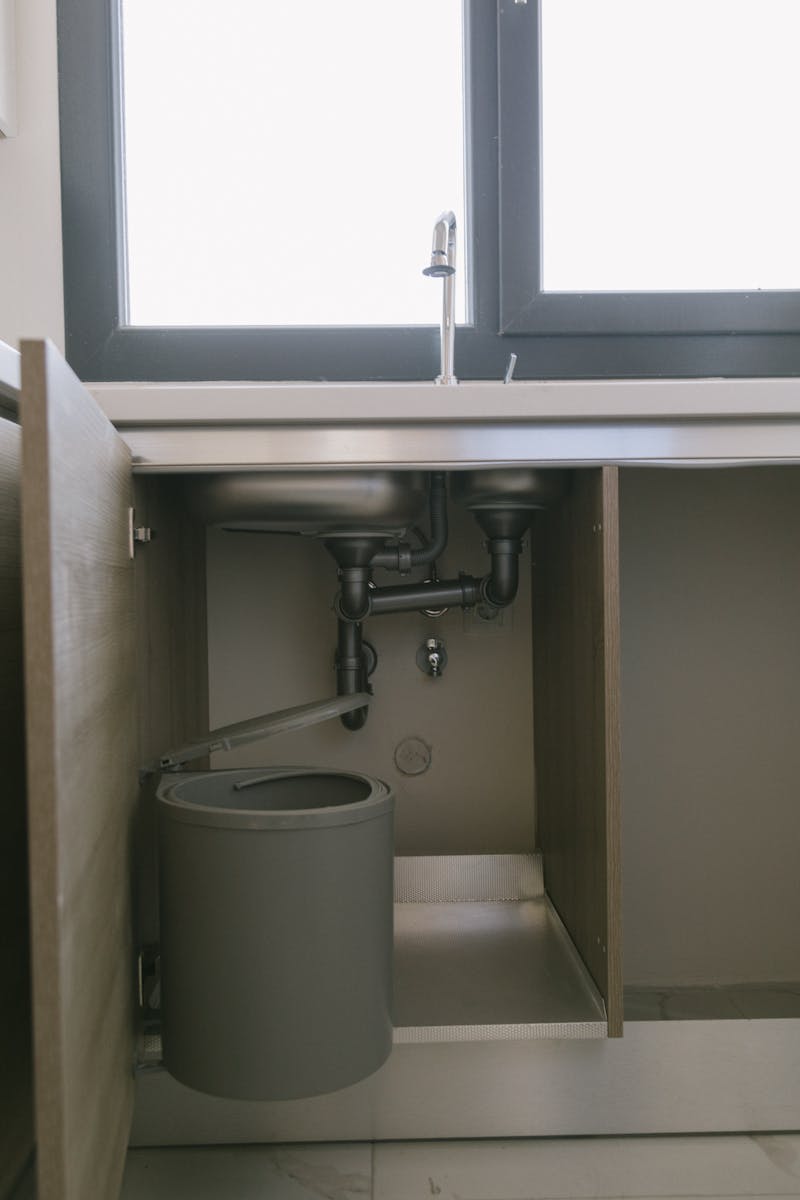
A garbage disposal makes kitchen cleanup faster and reduces food waste going to landfills. When one jams, leaks, or stops working, it brings the whole kitchen to a halt. This guide covers installing a new unit, fixing the most common problems, and keeping your disposal running for years.
Choosing a Garbage Disposal
Key specs to consider before buying:
- Motor size: Measured in horsepower (HP). For most households, ½ HP handles light use; ¾ HP works for average families; 1 HP is best for heavy daily use or tougher food waste
- Grinding stages: Two-stage grinders (with stainless impellers and a grind ring) are more effective and less prone to jamming than single-stage units
- Sound insulation: Higher-end models include foam or anti-vibration mounts that significantly reduce noise
- Capacity: Larger grind chambers reduce jam frequency
The InSinkErator Evolution Compact is a ¾ HP two-stage unit with excellent jam resistance and sound insulation — a great mid-range choice. For heavy use, step up to the InSinkErator Evolution Excel 1 HP.
Tools and Materials Needed
- Adjustable pliers or channel-lock pliers
- Screwdrivers (Phillips and flathead)
- Plumber’s putty
- Bucket and towels
- Flashlight
Most disposals include all mounting hardware and electrical connections needed for installation.
How to Install a Garbage Disposal
Step 1: Disconnect Power
Turn off the circuit breaker for the disposal. If the unit is hardwired, verify power is off with a voltage tester. If it plugs in, unplug it.
Step 2: Remove the Old Disposal
- Disconnect the discharge tube (the pipe going from the disposal to the drain)
- If connected to a dishwasher, remove the drain hose from the disposal inlet
- Insert a flathead screwdriver or the disposal wrench into the mounting ring and turn counterclockwise to release the unit from the mounting assembly
- Lower the old disposal and set it aside
Step 3: Install the Sink Flange
If replacing the mounting assembly (most replacements will use the existing one):
- Remove the old flange from below the sink — unsnap the snap ring, remove the backup ring, fiber gasket, and upper mounting ring
- Roll plumber’s putty into a rope and press it around the underside edge of the new sink flange
- Push the flange into the drain hole from above
- From under the sink, install the fiber gasket, backup ring, and upper mounting ring
- Tighten the mounting ring screws evenly until the putty squeezes out above
- Scrape away excess putty from above
Step 4: Wire the Disposal
If your disposal is hardwired:
- Remove the wiring cover plate from the bottom of the unit
- Connect white to white, black to black, green to ground using wire nuts
- Replace the cover plate
If it plugs in, ensure the outlet is a GFCI-protected outlet.
Step 5: Mount the Disposal
- Lift the disposal and align its mounting tabs with the mounting assembly
- Turn clockwise until it locks into place
- Connect the discharge tube to the drain outlet (with the provided gasket)
- Connect the dishwasher drain hose if applicable (knock out the plug inside the inlet with a screwdriver first)
Step 6: Test
Turn the water on first, then restore power and run the disposal briefly. Check all connections for leaks.
Troubleshooting Common Problems
Disposal Won’t Turn On
- Check the reset button: A small red or black button on the bottom of the unit. Press it firmly — you may feel or hear a click
- Check the circuit breaker: Reset if tripped
- Test the outlet: Plug something else into the outlet to confirm it has power
Disposal Is Humming but Not Spinning (Jam)
A jam means something is stuck between the impellers and the grind ring.
- Turn off the power — do not put your hand inside while power is on
- Use the disposal wrench (often included, or use a garbage disposal Allen wrench in the hex socket on the bottom of the unit and work it back and forth to free the jam
- Use tongs to remove the object from inside the chamber
- Press the reset button, restore power, run with water
Disposal Is Leaking
- Leaking from the sink flange (top): Putty has dried or the mounting bolts have loosened — tighten the mounting ring screws or reseat with fresh putty
- Leaking from the discharge outlet: Tighten the screws or replace the discharge outlet gasket
- Leaking from the bottom (bottom of the unit): Internal seal failure — the unit needs replacement, as internal seals are not serviceable
Disposal Smells Bad
Run the disposal with cold water and a cut lemon or orange. For deep cleaning, put a cup of ice and a half cup of salt down the drain and run the disposal — the ice and salt scrub the grinding components.
What Not to Put in a Garbage Disposal
- Grease, oil, or fat — they solidify and coat the chamber
- Fibrous vegetables (celery, asparagus, artichokes) — fibers wrap around the impellers
- Starchy foods (potato peels, pasta, rice) — expand and create thick paste
- Bones larger than small chicken bones
- Coffee grounds — accumulate and clog the drain
- Non-food items of any kind
Installation Checks Before You Restore Power
- Confirm the dishwasher knockout plug is removed if a dishwasher drains into the disposal
- Make sure the discharge tube slopes toward the trap without sagging
- Tighten the mounting ring evenly so the unit sits level
- Verify the electrical cable is clamped and the wire connections are inside the cover plate
- Fill the sink, release the water, and watch every joint for leaks before using food waste
If the disposal hums after installation, shut it off immediately and use the reset button and jam wrench. Letting a jammed motor hum can overheat it quickly.
Repair or Replace?
Replace the disposal if it leaks from the bottom, trips the reset repeatedly, has a cracked housing, or is badly corroded around the mounting assembly. Repair is reasonable when the issue is a jam, loose discharge gasket, missing dishwasher knockout, or worn splash guard. If the unit is over 10 years old and already removed from the sink, replacement usually makes more sense than reinstalling a marginal motor.
Conclusion
Garbage disposal installation is one of the more manageable DIY plumbing projects, typically completed in under two hours. When problems arise, work through the reset button and jam-clearing procedure before assuming the unit needs replacement. With proper use — no grease, no fibrous vegetables, always running cold water — a quality disposal lasts 10–12 years.
See Also
- How to Unclog a Drain: DIY Methods That Actually Work — if disposal waste is backing up into the sink, the drain itself may be the culprit
- How to Shut Off Water in a Plumbing Emergency — know where the kitchen shutoffs are before starting any appliance installation
- How to Fix a Leaky Faucet — while you’re working under the sink, check the faucet supply lines and connections too

Flow Control HQ Editorial Team
Independent trade-focused editorial team