Bathroom Renovation Plumbing Guide: What to Know Before You Start
Bathroom renovations are among the most common home improvement projects — and plumbing is the part that most homeowners underestimate. Moving a toilet, adding a shower, or relocating a sink can quickly turn a cosmetic refresh into a complex construction project. Understanding the plumbing implications before you finalize your design prevents costly surprises and keeps your project on schedule.
Start with a Plumbing Inspection
Before any renovation begins, have a licensed plumber inspect the existing plumbing:
- What material are the supply lines? (copper, PEX, galvanized steel)
- What material is the drain/vent system? (cast iron, ABS, PVC)
- Where is the main sewer line, and in which direction does it run?
- Are there any existing leaks, corrosion, or code violations?
In homes older than 40 years, you may encounter galvanized supply pipes with significant corrosion. A renovation is often the right opportunity to repipe that section of the house while the walls are already open.
The “No Move” vs. “Wet Wall” Rule
The most important cost driver in bathroom plumbing is whether you’re moving the drain locations.
- Not moving any drains: Replacing fixtures in the same locations — a faucet swap, new toilet with same rough-in, tub/shower replacement in place — is the most affordable approach. Supply lines and drain connections can typically be extended or adapted
- Moving drains: Any change to the toilet location, shower pan position, or drain connection requires opening the floor or ceiling below. In a slab-foundation home, this means concrete cutting — a significant additional cost
As a general rule: keep fixtures in the same locations whenever possible to control costs.
Key Plumbing Terms for Bathroom Renovation
Rough-in: The measurement from the finished wall to the center of a drain or supply stub-out. The toilet rough-in distance (wall to drain center) must match your toilet — standard is 12”, but some older homes have 10” or 14”.
Wet wall: The interior wall that contains the supply and drain lines. Wet walls should be accessible and ideally not exterior walls (to prevent pipe freezing).
DWV: Drain, Waste, and Vent system — the large-diameter pipes that carry waste water and gases out of the home.
Trap: The U-shaped section of pipe under each drain that holds water to block sewer gas. Every drain needs a trap, and every trap needs to be properly vented.
Vent stack: The vertical pipe that connects your drain system to the exterior (usually through the roof) to allow air in and sewer gases out.
Rough-In Requirements by Fixture
Toilet
- Drain rough-in: 12” from finished wall to drain center (standard)
- Supply stub-out: 6–8” off the finished floor, 6–8” to the left of drain center
- Clearance: 15” minimum from drain center to any side wall or obstruction (18” preferred); 21” minimum from front of toilet to any obstruction (24”–30” is more comfortable)
Sink
- Drain stub-out: Typically centered in the cabinet, 16–24” above finished floor
- Supply stub-outs: Hot (left) and cold (right), 21” above finished floor, 4” apart, centered in the cabinet (or per vanity specs)
Shower
- Drain: Centered in the shower floor — location depends on the shower pan
- Valve rough-in: The shower valve typically installs at 36”–48” above the floor; exact height depends on your valve and trim preference
- Showerhead stub-out: 76”–80” above the finished floor
- Hand shower or slide bar: Additional stub-outs as needed
The Moen Posi-Temp Shower Valve is a popular pressure-balancing valve for shower rough-ins, with matching trim available in many styles and finishes.
Bathtub
- Drain: Location varies by tub — measure from the tub spec sheet before roughing in
- Faucet (deck-mount): Two supply holes at faucet spacing, often 8” apart
- Freestanding tub: Floor-mounted supply risers (usually ½” copper or brass risers) and a floor drain
Permits and Code Requirements
Always pull a permit for bathroom plumbing work that involves:
- Moving or adding drain lines
- Relocating supply lines inside walls
- Adding a bathroom (new fixture count)
- Water heater replacement (in most jurisdictions)
Unpermitted plumbing work creates problems at resale and may not be covered by homeowner’s insurance if something fails.
Common code requirements:
- Every drain must be properly trapped and vented
- Toilets require their own dedicated vent, or be within a certain distance of a wet vent
- GFCI outlets required within 6 feet of any sink
- Shower valves must be pressure-balancing or thermostatic (to prevent scalding)
Choosing a Shower Valve
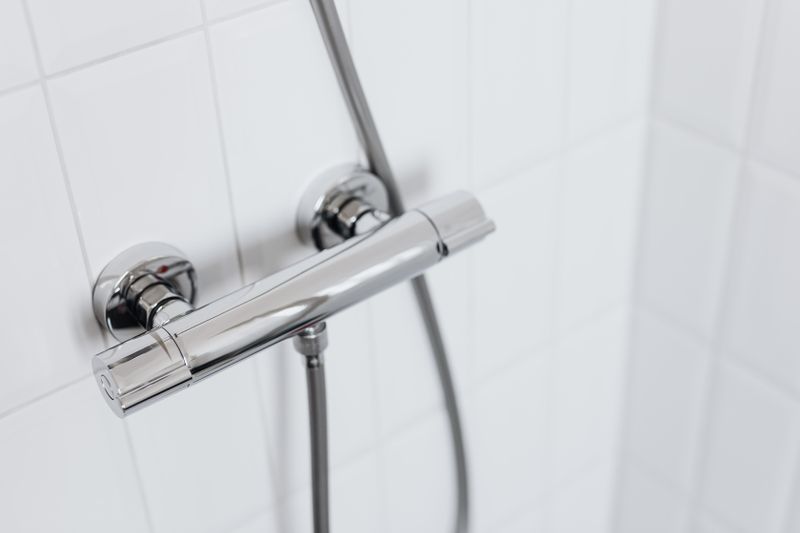
The shower valve is one of the most important plumbing choices in a bathroom renovation. Modern code in most jurisdictions requires a pressure-balancing valve that prevents sudden temperature swings when another fixture is used.
Pressure-balancing valves: Maintain consistent temperature when pressure changes. Less expensive, adequate for most applications.
Thermostatic valves: Maintain a precise set temperature regardless of pressure fluctuations. Ideal for multiple outlets (body sprays, rain head, handheld) and households with children or elderly users.
For a full shower system with multiple outputs, look at the Kohler K-T14423-4 Thermostatic Valve paired with a volume control — this setup allows precise temperature and flow control for each outlet independently.
Waterproofing: The Plumber’s Responsibility and Yours
Tile in showers and tub surrounds depends on proper waterproofing underneath. This is the area where bathroom renovations most commonly fail years after completion.
Options for shower waterproofing:
- Cement board + membrane: Traditional approach; cement board backer with a liquid waterproofing membrane or sheet membrane applied before tile
- Schluter KERDI system: Foam panels with integrated waterproofing used as the substrate — KERDI board is popular for DIY renovations
- Tileboard or prefab panels: Factory-waterproofed panels installed directly over studs — the fastest option
The plumber and tile installer must coordinate so the drain is properly integrated with the waterproofing layer.
Sequencing Your Renovation
The correct sequence for bathroom renovation plumbing:
- Demo and inspection
- Rough plumbing (drain and supply rough-in, in-wall work) — permit inspection here
- Subfloor repair if needed
- Waterproofing
- Tile and flooring
- Trim plumbing (installing fixtures, supply lines, trim kits)
- Final inspection
Never tile over rough plumbing until the rough inspection is complete and approved.
Cost Expectations
| Task | DIY Cost | Professional Cost |
|---|---|---|
| Faucet/fixture replacement in place | $50–$300 (parts) | $200–$500 |
| Toilet replacement | $150–$400 (parts) | $300–$600 |
| Shower valve replacement | $100–$400 (parts) | $400–$800 |
| Moving a drain (per fixture) | Not recommended | $500–$2,000+ |
| Full bathroom rough-in (new bath) | Not recommended | $2,000–$6,000+ |
Conclusion
The plumbing decisions you make early in a bathroom renovation determine your budget, timeline, and long-term satisfaction. Keep fixtures in the same locations where possible, pull permits for all rough-in work, and invest in quality valves and waterproofing — these are the components hidden behind tile that can’t be easily accessed once the walls are closed. When in doubt, consult a licensed plumber before finalizing your design rather than after you’ve committed to a layout that requires expensive pipe relocation.
See Also
- How to Replace a Bathroom Faucet — a detailed step-by-step for one of the most common renovation fixture swaps
- Toilet Installation Guide — if your renovation includes a toilet replacement, follow this guide for the wax ring and rough-in
- PEX vs Copper vs CPVC Pipe Comparison — when walls are open, this is the right time to evaluate repiping options

Flow Control HQ Editorial Team
Independent trade-focused editorial team